A brick stitch is called in this way because its rows are made by the beads resembling a brick wall. A brick stitch is a little bit similar to the peyote stitch, but this technique is stiffer than peyote one. That’s why it is the perfect stitch for earrings and pendants mainly made from seed beads.
The first row of a brick stitch, it is a ladder stitch, which means a series of beads laid one next to another. Each next layer is added to the previous one by sewing through the stitches holding the previous layer together. Such a procedure gives us an off-set pattern called a brick stitch.
A brick stitch can be done with any type or size of seed beads, with larger beads or even square beads.
Brick Stitch Tutorial for beginners
First row – a ladder stitch
1. string two beads and leave a 7-8 inch thread tail
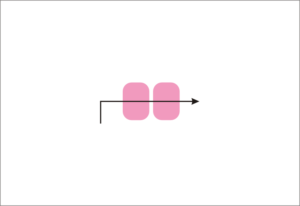
2. Go back through both beads. Pull the thread taut, so the two beads will be next to one another
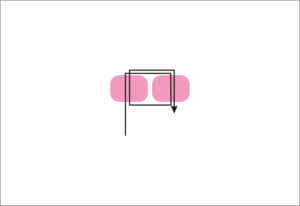
3. Go back up through the first bead and down through the second bead.
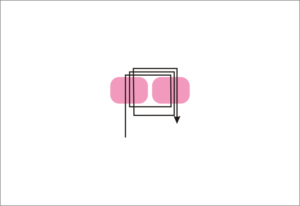
4. Add the next bead.
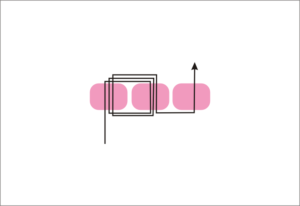
5. Go back to the previous bead, so the new bead will be nest to the previous one.
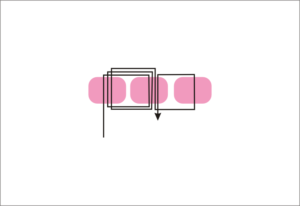
6. Pass the thread through the last added bead.
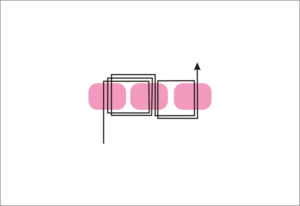
7. Add the fourth bead.
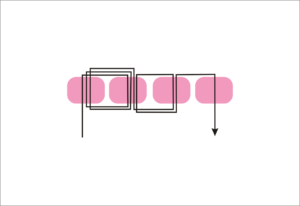
8. Passback up through the third bead so the fourth bead will be next to the third one.
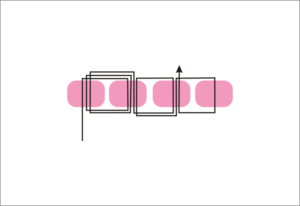
9. Passback down through the fourth bead.
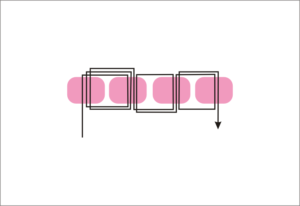
10. Add the next bead and pass back through the fourth bead.
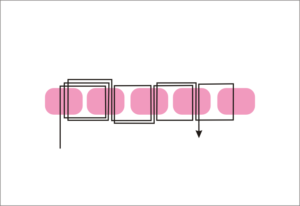
11. Passback up through the last added bead. (You can add as many beads as you need.)
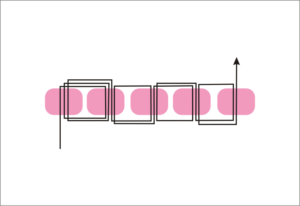
Next row – a regular brick stitch
12. Add two beads.
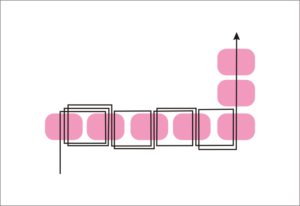
13. Pass the needle below the thread which attaching the two beads at the beginning of the previous row. Then go up through the second bead you added. Remember to pull the thread taut.
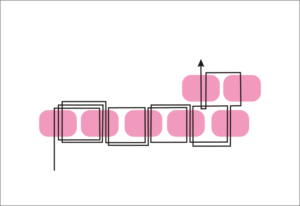
14. Add the next bead, and pass the needle below the thread between the next two beads in the first row. Go up through the added bead, and pull the thread taut.
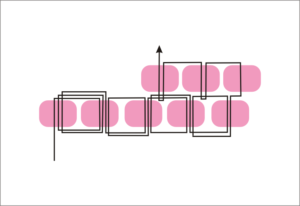
15. Add the next bead, and pass the needle below the thread between the next two beads in the first row. Go up through the added bead, and pull the thread taut.
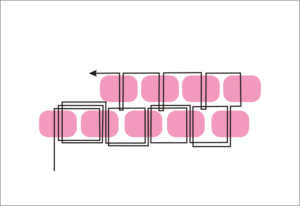
16. Add the next bead, and pass the needle below the thread between the next two beads in the first row. Go up through the added bead, and pull the thread taut.
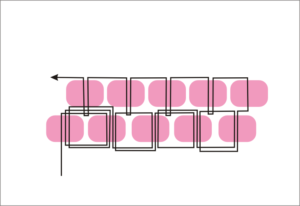
Third row and each next one
17. Add two beads and pass the needle below the thread which attaching the two beads at the beginning of the previous row. Then go up through the second bead you added. Remember to pull the thread taut.
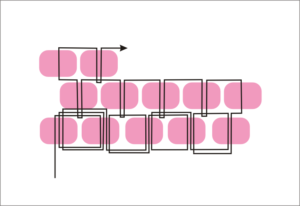
18. 19. 20. Add the next bead, and pass the needle below the thread between the next two beads in the first row. Go up through the added bead, and pull the thread taut.
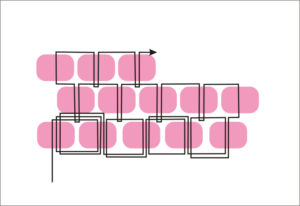
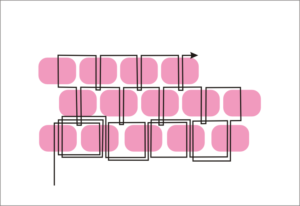
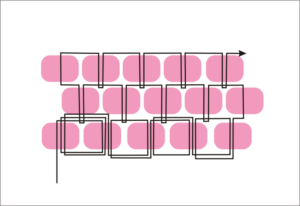
First row – a ladder stitch – string two beads and leave a 7-8 inch thread tail

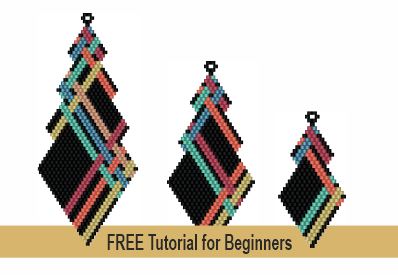

I am working on the earring and pendant pattern with the 3 different sizes of triangles. I know how to increase and decrease with a brick stitch, however, I do not know how to increase from the smaller triangle to the larger. There is an increase of about 13 stitches from the first to the next. Do you have a tutorial instructing how to make this increase? I love the pattern as well as a few other patterns that I hope to try. Thank you.